
Reviewed · COLOMBIA
HUILA VIEWPOINTS MANO DEL GIGANTE
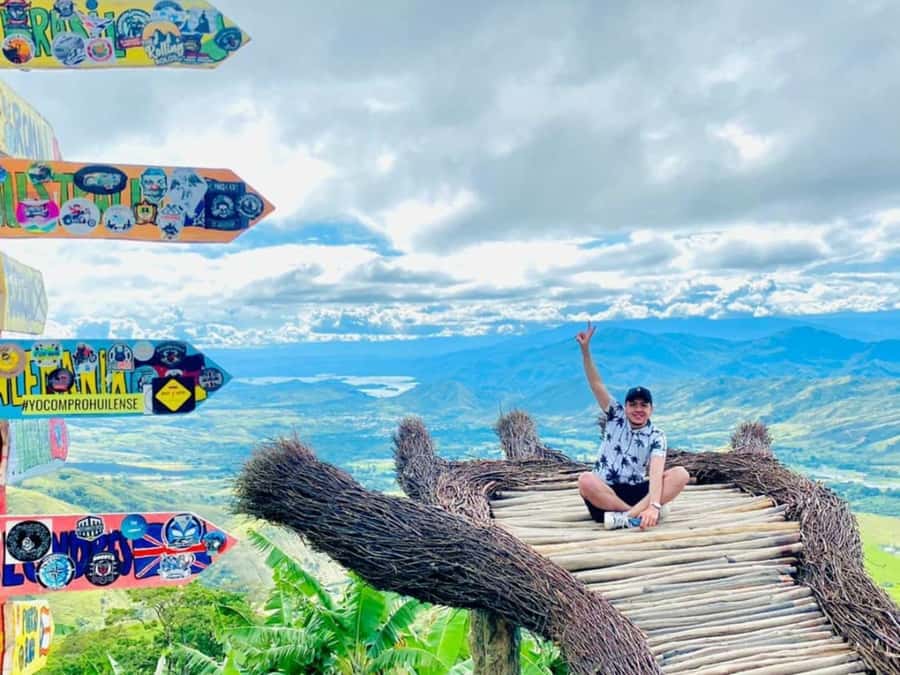
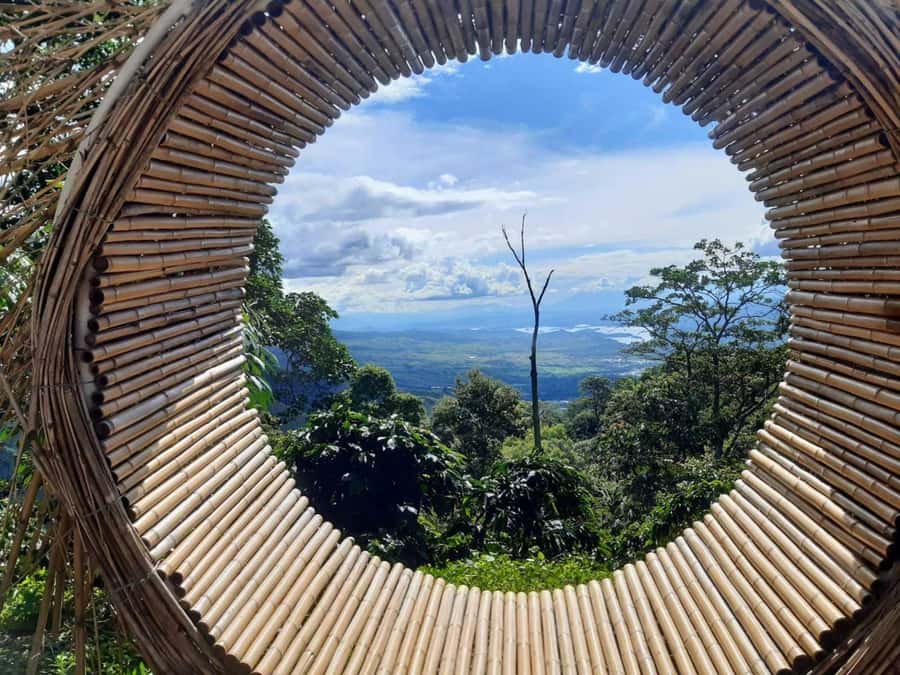
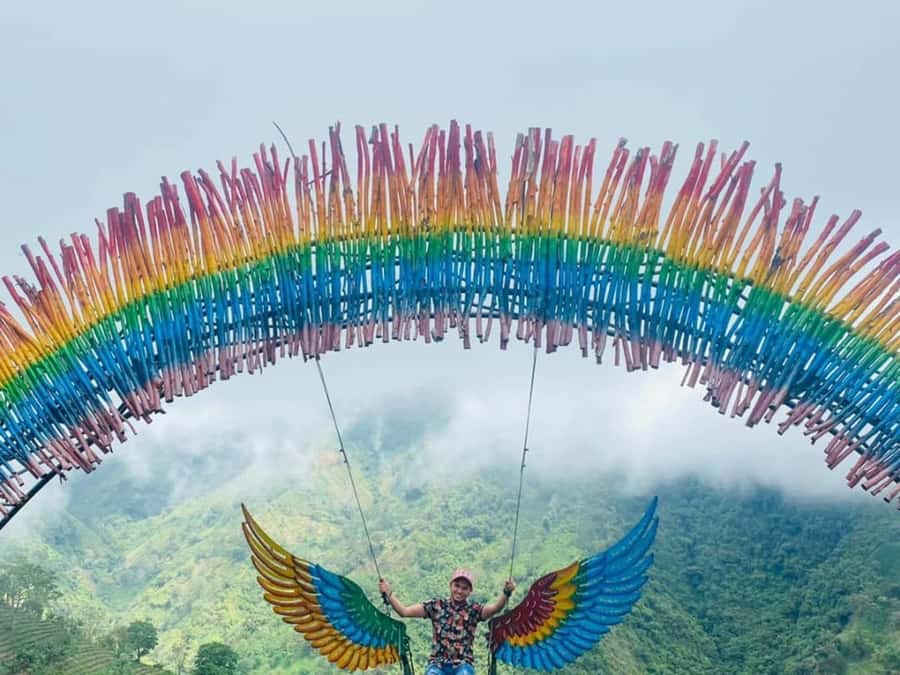
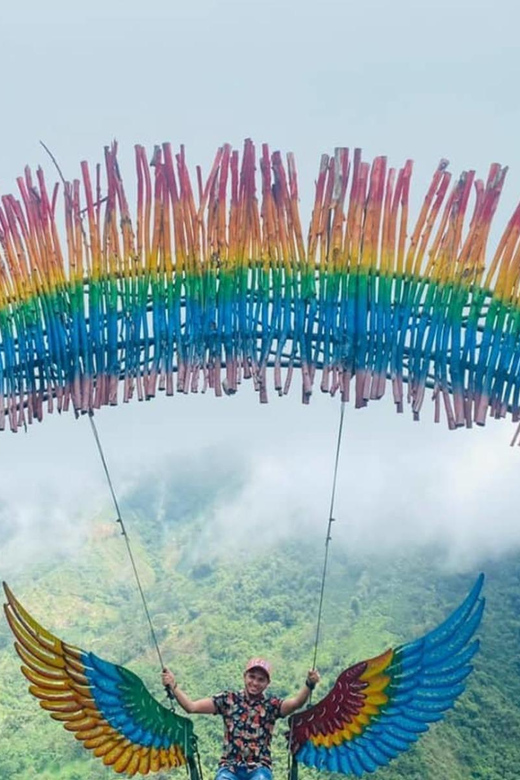
What makes this Huila day trip interesting is the sheer scale and photo-first design of Mano del Gigante. You’ll get a built-in circuit of photo stops like the swing with wings, the eye of the mountain, and the giant hand itself, all in one day.
I also like that the experience mixes fun viewpoints with local context. With guides such as Serafín, you get more than selfies, you also hear stories about Huila and the idea behind La Mano del Gigante.
One possible drawback is timing and weather. Even early on, you can hit queues, and thick cloud cover can shut down certain activities or make viewpoints less impressive.
Key highlights to plan for
- A full 9-hour day from about 7:30am to 5:00pm, with a long block of time up at Gigante
- Small group size (up to 10), which helps keep the day from feeling rushed
- A guided photo circuit with multiple themed spots, not just one main viewpoint
- Optional adrenaline like rainbow slider and parapente, but they depend on conditions
- Lunch is included, though the menu is not flexible, so plan for one set meal
- 4×4 internal transport up the mountain area, which can mean waiting when lots of people arrive
A Photo-First Icon You Can Do in One Day
Mano del Gigante is the kind of attraction that is instantly recognizable, even if you’ve never been to Huila. Think giant-scale viewpoint elements built for photos, plus surrounding scenery that gives you a sense of place. This trip is set up so you spend your time where the pictures and the views happen, instead of wasting hours on logistics.
You get a guided flow through multiple stops, which matters. If you’re traveling with someone who likes photos, you will both have a path to follow. And if you just want the best lookouts, the structure keeps you moving without having to figure out where to go next.
The other smart part is the mix of viewpoints and light local storytelling. In past days, guides like Serafín have shared history about Huila and La Mano del Gigante, so the day feels more grounded than a pure photo tour.
The goal here is simple: see the attraction, capture your favorite angles, and enjoy a real day trip meal and coffee-time break along the way.
Other Neiva days people book on the same trip:
- Neiva: Guided Day Trip to the Tatacoa Desert with Lunch
★ 4.8 · 76 reviews - Community and Biodiversity Tour of the Tatacoa Desert from Neiva
★ 5.0 · 29 reviews - Discover the Tatacoa Desert with a Local
★ 5.0 · 20 reviews
Getting From Neiva to Gigante, and What the Schedule Really Feels Like
The day starts with pickup in Neiva, at the address you provide. The total experience runs about 9 hours, starting around 7:30am and ending around 5:00pm. That timing is useful because you’re not trying to fit this into a half-day tour or an overnight plan.
Transportation is a two-step setup. First, you travel from Neiva to the Gigante area, then you switch to shared 4×4 trucks for the internal drive up. This is normal for mountain attractions, but it does impact your day.
Here’s the practical reality: even if you arrive early, you might still find waiting. One common pinch point is the line for the truck transfer to the top. Another is queuing at individual viewpoints once you’re up there. If you’re the type who hates waiting, bring patience. If you can handle it, the tradeoff is that you get the whole experience in one organized loop.
Also note that the tour guide language works like this: the guide can work in Spanish and English. In practice, English may be limited depending on the day and guide, so if you rely on English only, keep expectations flexible.
Your Guided Viewpoint Circuit: The Spots That Make Mano del Gigante Click
The heart of this tour is the time up in Gigante, roughly 4 hours for stops and photos. You’ll move from one themed viewpoint to the next, with guidance that helps you get the best angles and understand what you’re looking at.
Here are the themed stops you can expect, and what each one adds to the day:
Swing With Wings
This is the classic photo moment for people who want movement in the frame. You’ll have time to line up and take photos from different positions. The big win is that it feels different from a simple lookout, it’s playful and designed for pictures.
A different kind of day out of Neiva:
- Community and Biodiversity Tour of the Tatacoa Neiva Desert
★ 4.7 · 14 reviews - Tatacoa Desert Day Trip live, discover and connect
★ 4.0 · 9 reviews
Nido (Nest)
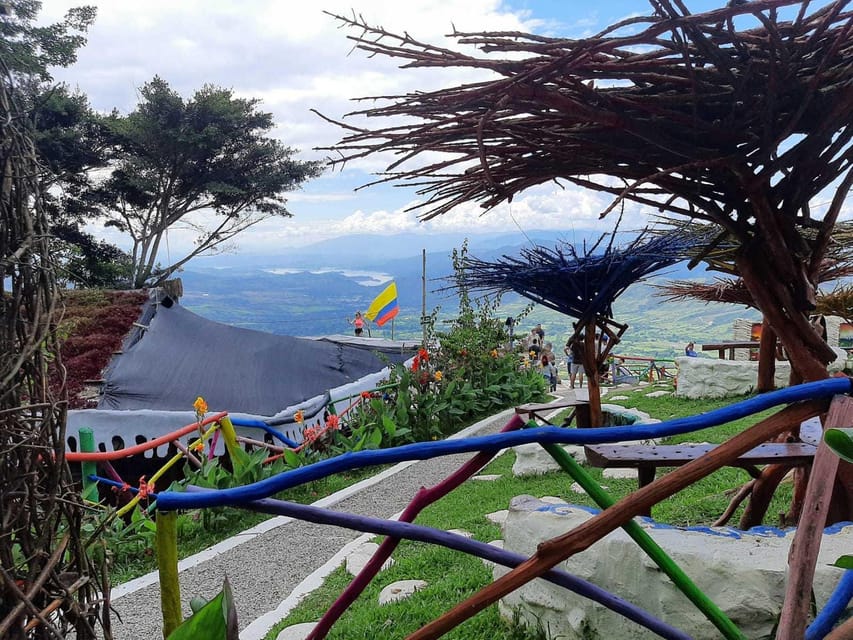
This spot gives you another themed backdrop and a more “photo scene” vibe than pure scenery. It’s a good pause point, especially if someone in your group wants to take a lot of pictures and you don’t want to rush.
Ojo de la Montaña (Eye of the Mountain)
You’ll get a high, viewpoint-style composition here. This is one of the stops where visibility matters. If clouds roll in, it can make the view flatter, which is why weather affects the whole day.
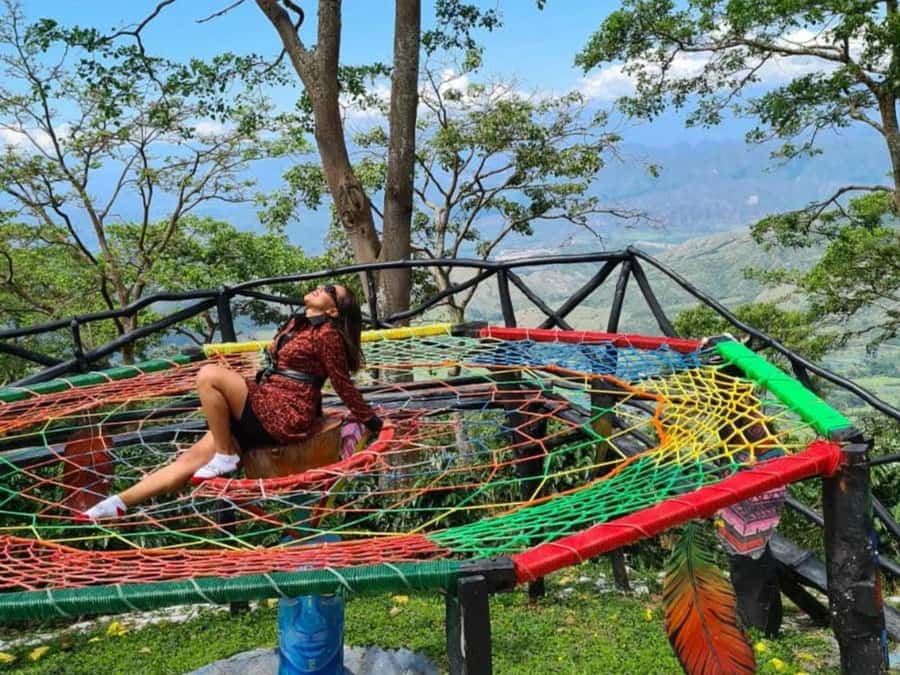
Atrapasuños (Dream Catcher)
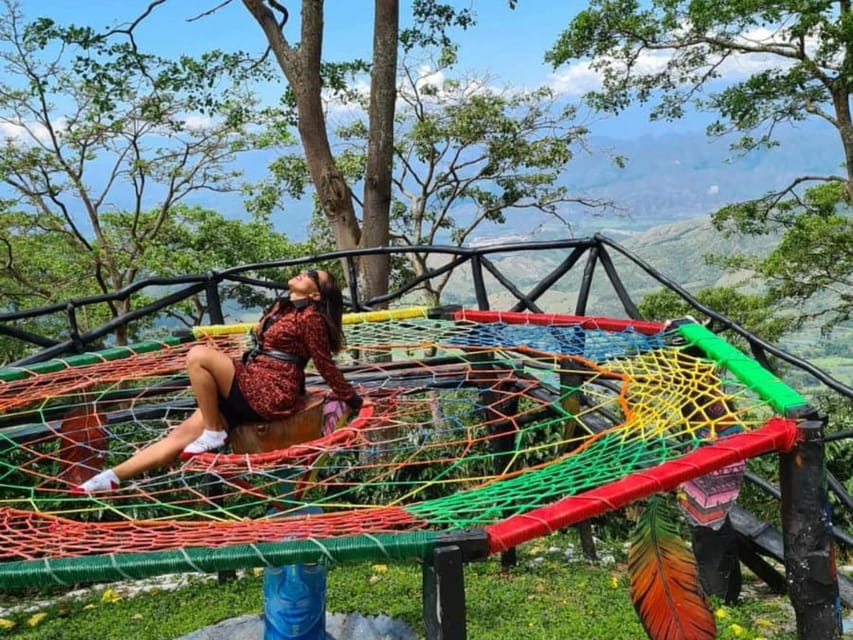
This is a character-style photo stop that tends to work well for both casual shots and more thoughtful compositions. It’s also a good moment to slow down for a few minutes and recharge before the next lineup.
La Mano del Gigante (The Giant Hand)
Yes, this is the main moment. You’ll get time here to photograph the hand from the angles people love most. It’s the stop you’ll likely return to in your mind when you think about the trip, because it’s the attraction’s signature.
Pueblito Huilense
This adds a small-town feel to break up the big viewpoints. It’s not just about height, it’s about changing the scenery so the day doesn’t blur together.
Árbol de Colores (Color Tree)
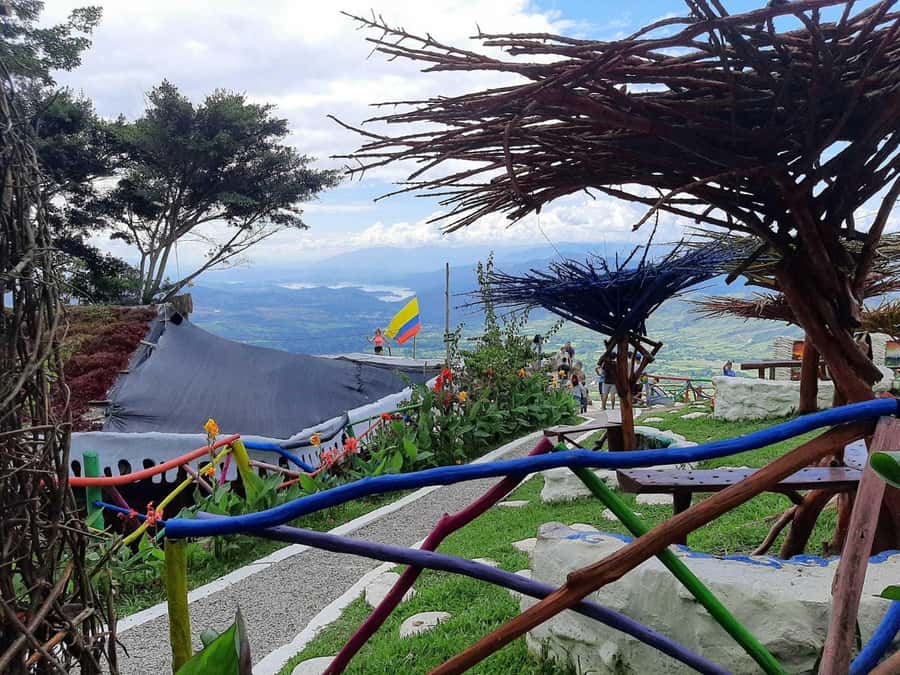
This is another scene builder. It gives you vivid color for photos and a different style than the mountain overlooks. If you’re thinking about Instagram-friendly images, this stop is usually a strong candidate.
One important timing note: viewpoints can involve waiting. The experience can stretch if you get stuck in lines at more than one stop. If you’d like fewer interruptions, keep your photo plan simple: pick your top 2 or 3 must-shoot spots, then fill in the rest as time allows.
Coffee Views, Brunch, and the Small Break That Matters
This trip is built around more than just viewpoints. You’ll have a brunch-style meal component and time that connects to Huila’s coffee experiences. The highlight calls it “coffee landscape,” so expect coffee-related scenery and a coffee-time moment rather than a formal tasting session.
Food is included, but you should know what “included” means here. The lunch is a fixed plate, not a menu with choices. The included meal includes items like cold meat, white rice, roast chicken, a boiled egg, salted potato, mountain rice, rice with sautéed vegetables, chorizo pieces, pork, and sweet corn.
This is the upside of a set lunch. You do not have to think about where to eat. You also know you will get fed.
The downside is also simple: there is not a varied menu offering on site. If you have strong preferences, you may want to plan ahead with a snack you bring along for the long day. (The tour does not include drinks that are not part of the program.)
If you’re traveling with someone who only wants a light meal, a hearty set lunch may feel like a lot after a long photo circuit. On the other hand, for most people, it’s the kind of meal that keeps you comfortable through the ride back down.
Rainbow Slider and Parapente: Fun Options With Real Weather Limits
You get the chance for two optional activities, described as rainbow slider and parapente. The important detail is that these are not guaranteed to run the way you imagine.
The information you’re given is a bit mixed about the rainbow slider cost. It’s listed as not included, with a separate cash price shown as $12,000, and there is also a note that the slider payment is free by value of $15,000. Practically, that means you should treat the rainbow slider as an add-on that you should confirm in cash amounts directly with the coordinator on the day you go.
Parapente is listed as a free activity in the notes, but it can still be affected by safety rules and conditions. If you arrive and visibility is poor due to heavy cloud cover, some activities may be closed or restricted.
So how do you handle it like a pro? Keep your schedule flexible and treat these as bonus moments. Even if the slider is shut down, the viewpoint circuit still has plenty to do, and the day still includes lunch and the full guided stop sequence.
Also, if heights make you uneasy, pay attention. The tour is not suitable for people with vertigo and it’s not designed for those with respiratory issues, epilepsy, or recent surgeries. If you’re unsure how you react to heights or movement, it’s better to skip optional thrill activities rather than push through discomfort.
What to Pack for a 9-Hour Mountain Day
A small pack makes this day feel easier. Here’s what you should bring:
- a hat
- comfortable clothes
- insect repellent (biodegradable is recommended)
- cash (for items not included, especially the rainbow slider if you choose it)
- a daypack
- a smartphone charged and ready (for photos, maps, and updates)
- closed-toe shoes
Closed-toe shoes matter because you’ll be walking around multiple themed stops. Even if the path is not extreme hiking, the ground can be uneven depending on where you’re waiting or stepping between photo points.
Insect repellent is also a big one. Mountain areas can surprise you, and you’ll be outdoors for a long block of time. Also, have your smartphone charged early, because you’ll want battery for lots of photos and occasional re-checking.
If you’re prone to motion sickness, this isn’t the best fit. The activity list flags motion sickness as a no-go, which makes sense given the mountain transport.
Who This Trip Is For, and Who Should Think Twice
This is a fun day for people who want a clear plan, photo moments, and a guided experience that moves with purpose. It’s also a good fit for kids and for anyone who loves Instagram-style pictures, because many stops are designed as quick hit photo scenes.
But it’s not a universal fit. The tour is listed as not suitable for:
- back problems
- mobility impairments
- wheelchair users
- people with vertigo
- respiratory issues
- epilepsy
- people with animal allergies
- people with pre-existing medical conditions
- people with recent surgeries
- people with motion sickness
- people over 95 years
If any of those apply, it’s worth choosing a different Huila day. This tour involves walking, waiting in lines, and mountain transport that can be physically demanding even if it’s not a technical hike.
If you’re otherwise healthy and you can handle some standing and short walks between photo points, you should enjoy this. The small group size helps too. With a limit of 10 participants, it’s easier to move, take photos without losing your place, and keep the day from feeling chaotic.
Price and Value: What Your $163 Covers
At $163 per person, this is not a cheap activity, but it also isn’t just a ticket. You’re paying for an organized day plan from Neiva with real components:
- private transport from your Neiva pickup area to the destination area
- internal shared 4×4 transportation during the day
- entrance to the attraction
- a coordinator and a live tour guide
- insurance
- lunch with a set menu
- time for the photo circuit plus free time at the spots
When you compare this kind of structure, the value depends on you. If you want an easy, guided itinerary, want lunch handled, and prefer not to manage transportation and entry logistics yourself, the price can make sense fast.
Where it might not feel worth it is if you only care about one viewpoint and you’re the type who dislikes crowds and waiting lines. Also, if weather kills visibility or shuts down optional activities, the day can feel like you got fewer bonus moments than expected. That doesn’t mean it’s bad, it just means you should go with realistic expectations.
For best value, treat this as a full day out for photos and coffee-town vibes, not as an adrenaline guarantees package.
Getting the Most Out of Your Day on Site
A few small choices can make the difference between a smooth day and a frustrating one.
First, pick your must-shoot moments before you arrive and let the rest be bonuses. With many themed stops, it’s easy to burn time on photos that don’t matter to you.
Second, plan for waiting. Lines for transport and for viewpoints can happen, even when the day starts early. If you go in with patience, you will enjoy the experience more.
Third, keep one eye on the sky. Heavy cloud cover can limit what you see and may affect activities like the rainbow slider. If the weather is uncertain, focus on what you can control: taking photos that don’t rely on perfect visibility and enjoying the social and guided flow.
Finally, go in ready to talk to your guide. Guides such as Serafín can add a lot through the history they share about Huila and the attraction itself. If you ask a question or two, you usually get a better, more meaningful day.
Final Call: Should You Book This Mano del Gigante Tour?
Book this tour if you want a single-day plan that strings together multiple photo viewpoints, includes lunch, and handles transport from Neiva so you do not have to manage the day yourself. It’s especially worth it if you have limited time in Huila and you want the iconic Mano del Gigante moment without the hassle.
Skip or switch if you have any of the listed health concerns like vertigo, motion sickness, mobility limits, or epilepsy. Also consider skipping if you hate queues and you’re hoping the rainbow slider and parapente will definitely happen. Those extras depend on conditions, and the day can also feel more crowded than you expect.
If you do book, I’d pair it with other Huila highlights based on your pace. Many people combine Mano del Gigante with places like Tatacoa Desert, San Agustín Archaeological Park, Hot Springs, Alto de los Ídolos Archaeological Park, or Paicol Water Box and Waterfalls, plus a Neiva city tour.
FAQ
How long is the Mano del Gigante viewpoint trip?
The experience runs about 9 hours, starting around 7:30am and ending around 5:00pm.
Where do you get picked up?
Pickup is in Neiva, at the address you provide for the tour.
What activities and photo stops are included once you arrive at Gigante?
You’ll have time to visit multiple photographic spots, including the swing with wings, nido, eye of the mountain, atrapasuños, the giant hand, pueblito huilense, and the color tree.
Is lunch included?
Yes. Lunch is included as part of the program, and it follows a set menu.
Are drinks included?
No. Drinks like sodas or alcoholic beverages are not included.
Is the rainbow slider included in the price?
No. The rainbow slider is listed as not included, and there is a separate cash payment mentioned for it.
What should I bring?
Bring a hat, comfortable clothes, insect repellent, cash, a daypack, a charged smartphone, and closed-toe shoes. Biodegradable insect repellent is recommended.
Recently reviewed around Neiva
- Tatacoa Desert Day Trip live, discover and connect★ 4.0 · 9 reviews
- Discover the Tatacoa Desert with a Local★ 5.0 · 20 reviews
- Neiva: Guided Day Trip to the Tatacoa Desert with Lunch★ 4.8 · 76 reviews
- Community and Biodiversity Tour of the Tatacoa Desert from Neiva★ 5.0 · 29 reviews
- Community and Biodiversity Tour of the Tatacoa Neiva Desert★ 4.7 · 14 reviews